This tutorial provides step-by-step guidance for using the Opportunity Module in Business Compass. You will learn how to create, evaluate, and prioritize business opportunities, using the Procure to Pay (P2P) use case for context.
In this tutorial, you will learn how to:
Understand user roles and permission levels
Create both quick and detailed opportunities
Customize your opportunity workspace
Score and prioritize opportunities using strategic criteria
Perform ROI analysis using financial and operational data
Track opportunity status through lifecycle stages
Link opportunities directly to process activities
1. Overview
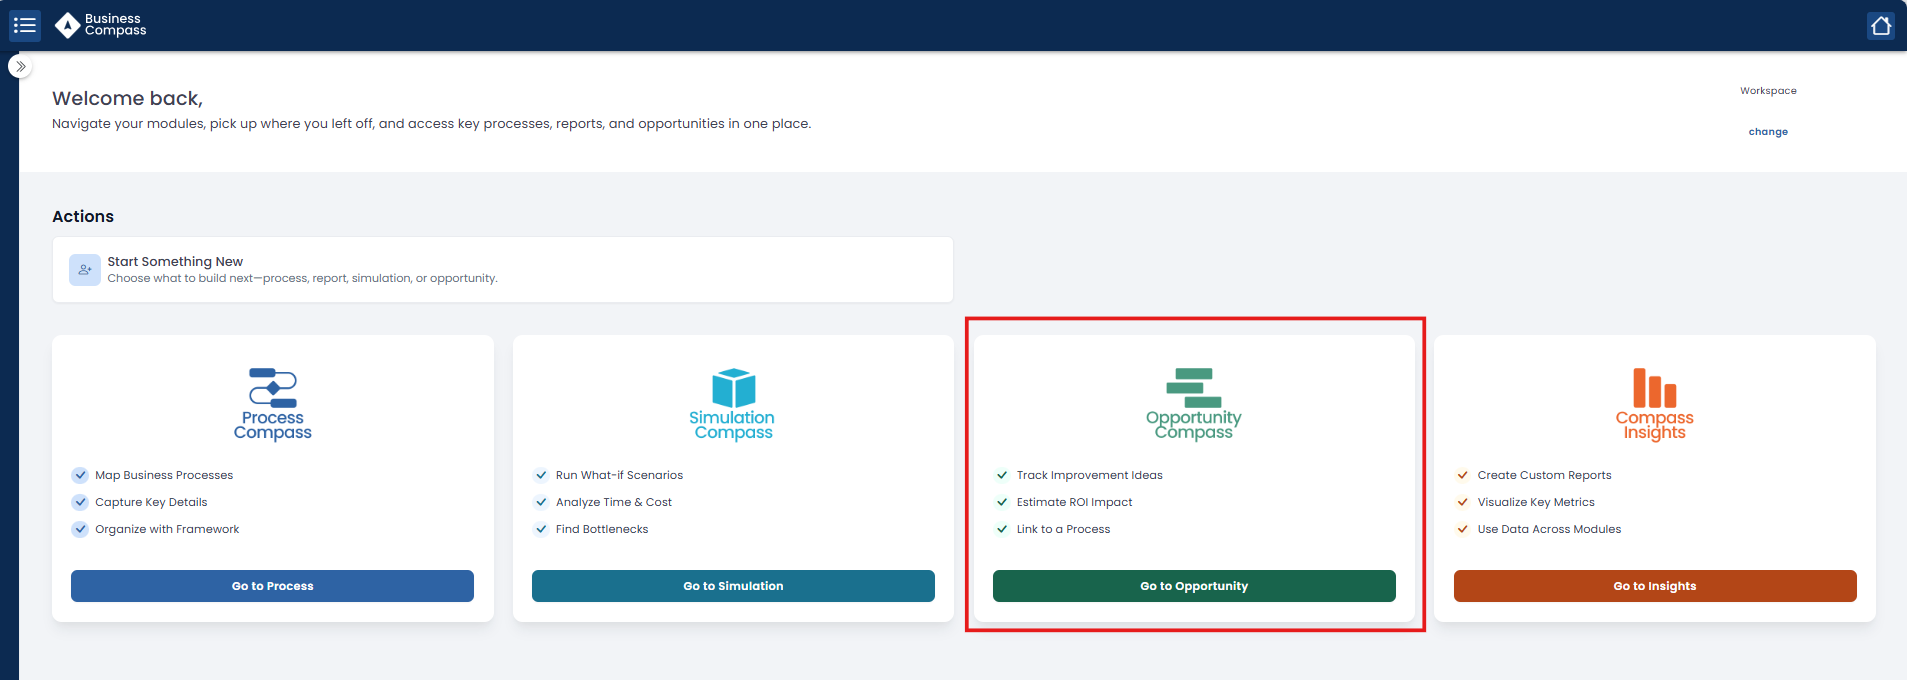
The Opportunity Center helps teams document, evaluate, and prioritize business improvement ideas. Whether automating tasks or improving compliance, this module gives business analysts a structured, data-driven way to recommend and justify change.
2. Explore the Business Opportunity Module
2.1 User Interactions
Procedure
Editors can create, edit, and delete opportunities.
Viewers can explore opportunities and export data.
Editors can also initiate ROI analysis and link to process models.
Result: You’re ready to navigate and interact with opportunities based on your role.
Opportunity Compass Module
2.2 Access Control
Procedure
Admins control permissions by assigning users to groups.
Ensure users have the appropriate license and folder access.
Use the Admin Console to review access by workspace or module.
Result: Data security and governance are preserved while ensuring smooth collaboration.
2. Create Opportunities: Quick vs. Detailed
2.1 Quick Action Modal
Procedure
Click New > Quick Opportunity.
Enter a title, priority, and owner.
Click Save when you're done entering all the basic information, or use the dropdown to select Save & Close.
If you have multiple opportunities to add using the Quick Action modal, click Save & Add New to continue adding the rest without closing the window.
Result: The opportunity is created with minimal input and can be completed later.
2.2 Detailed Opportunity Entry
Procedure
Open a saved opportunity and click on Edit.
Fill in:
Status
Type
Tags
Summary or description
Linked Process or Activity (Impacted Processes)
Add al financial information if you have it (ROI Analysis)
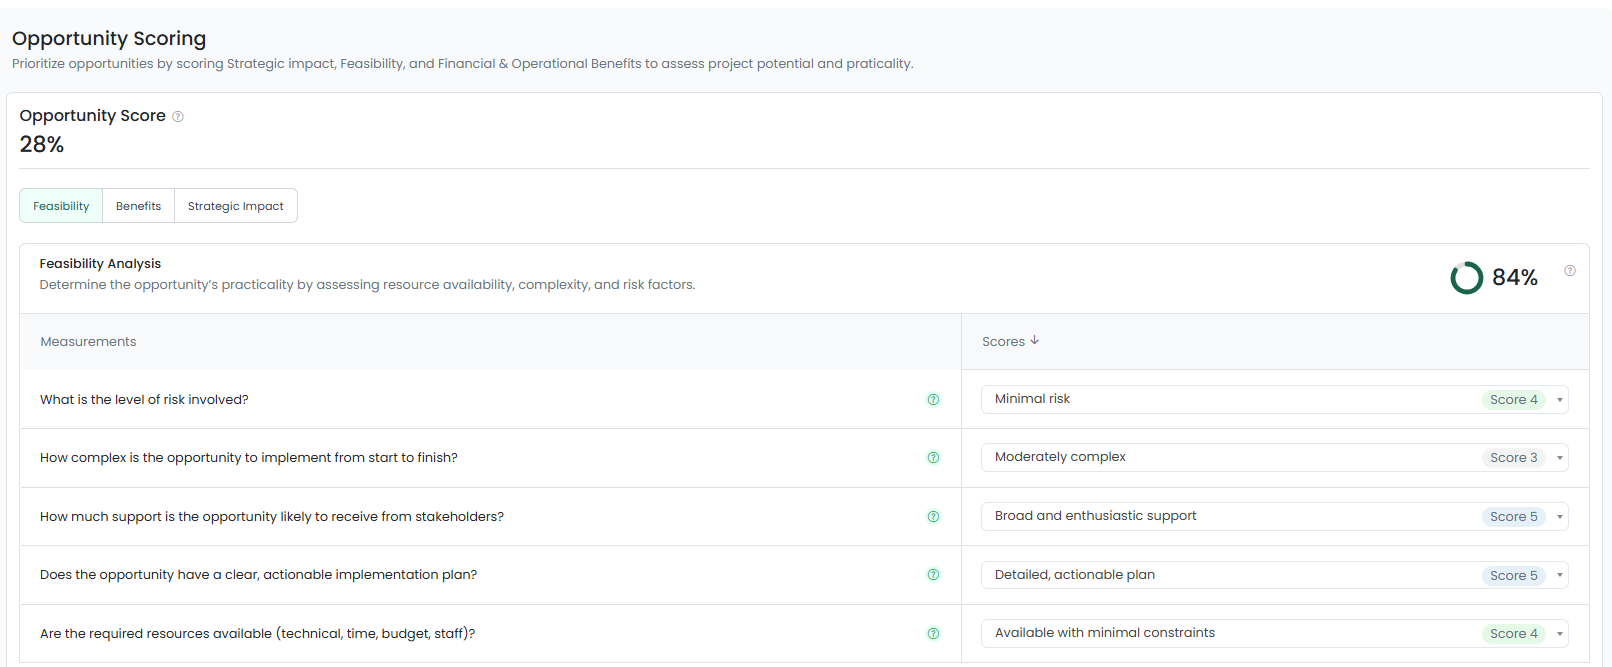
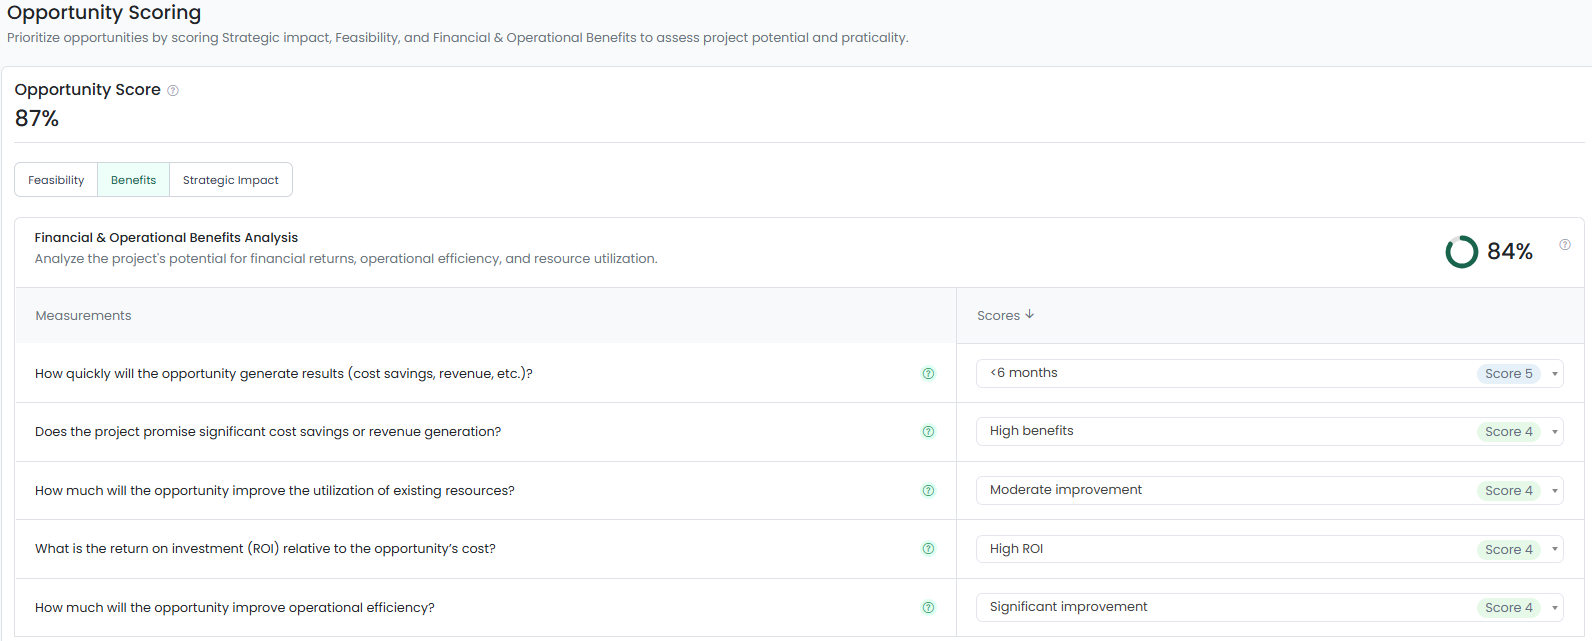
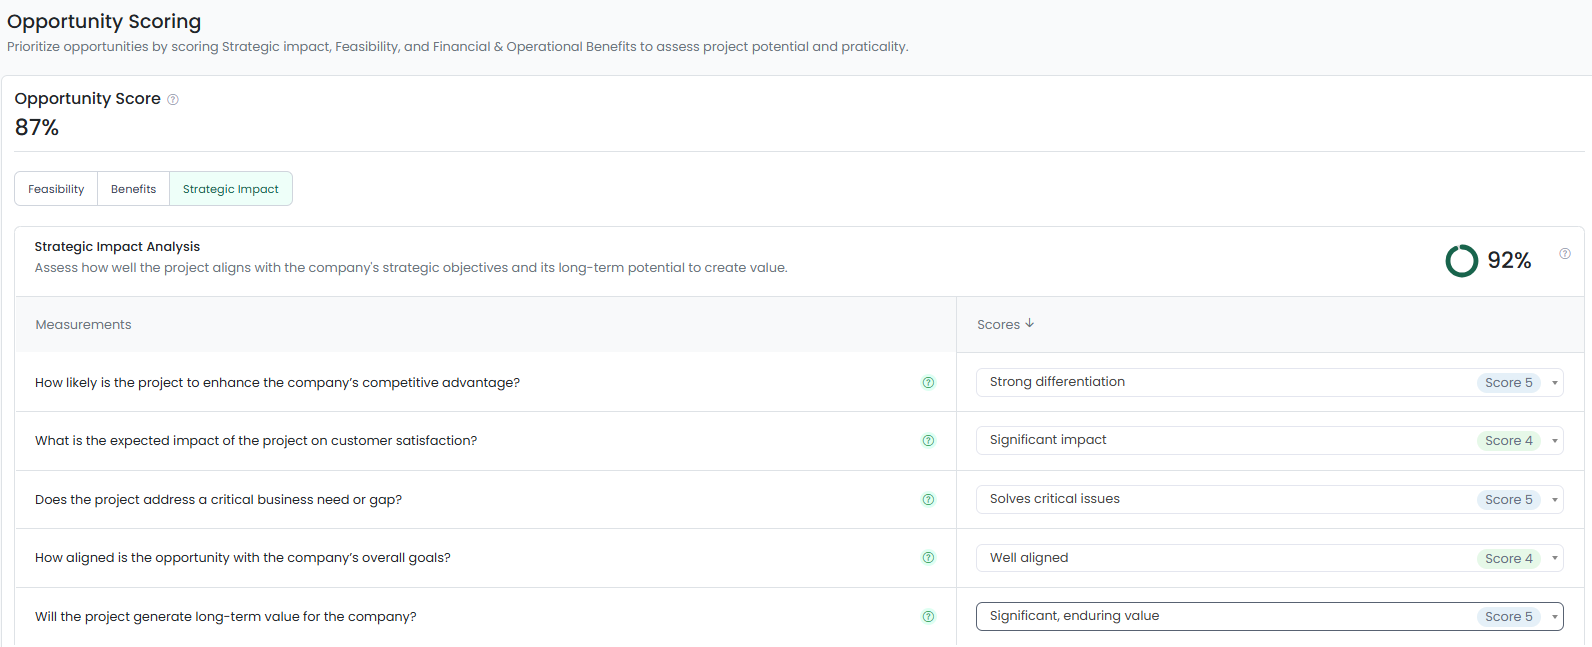
Opportunity scoring by adding the scoring on Strategic impact, Feasibility, and Financial & Operational Benefits to assess project potential and practicality. This will help you to
Click on Save or Save & Close.
Result: You’ve built a fully defined opportunity ready for scoring and ROI.
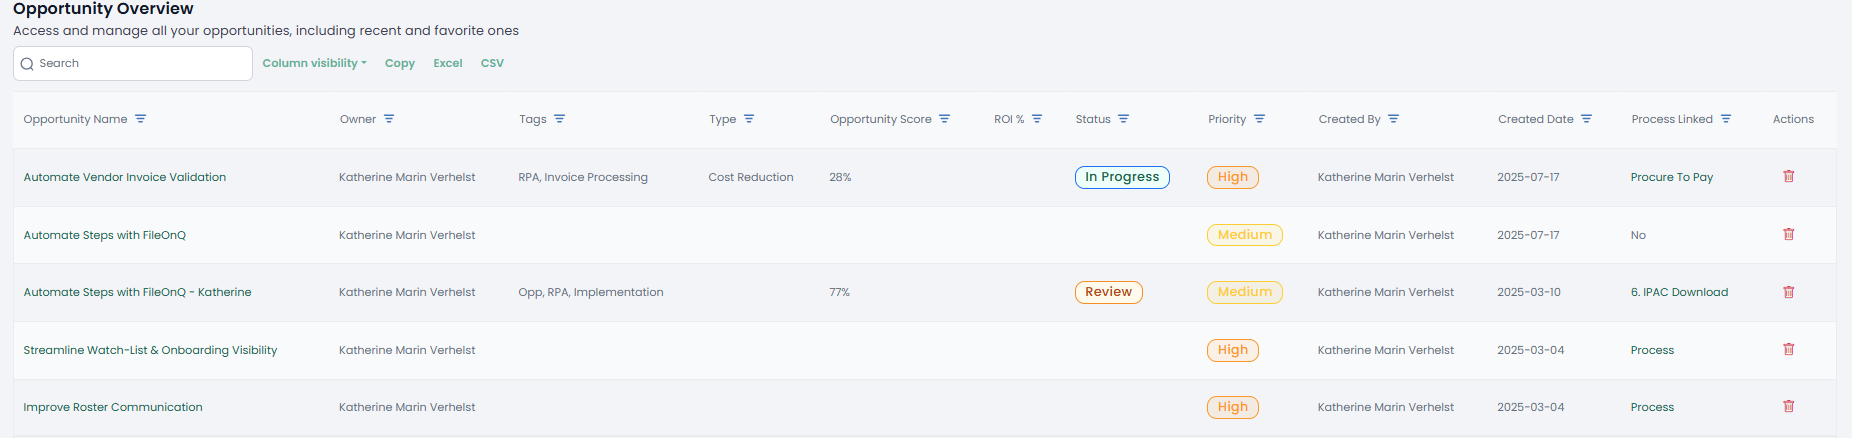
3. Opportunity Overview & Customization
3.1 Filtering Options
Procedure
Use filter bar to show:
All opportunities
Recently accessed
Favorites
Result: You narrow your view to only what’s relevant to your analysis.
Business Opportunity Center
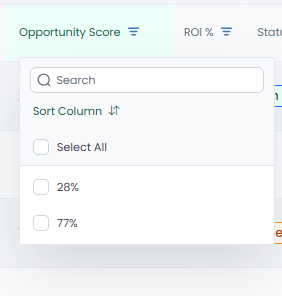
3.2 Sorting and Searching
Procedure
Use the column headers to sort by:
Score
Owner
Date Modified
Total Benefits
Process Linked
Use Global Search to locate keywords in descriptions or tags.
Result: You quickly find and sort through key initiatives.
Sort Colum
3.3 Exporting Options
Procedure
Click on Excel or CSV.
Business Compass will export the Table with the columns that you have visible.
Result: You generate reports to share progress and pipeline externally.
4. Prioritizing Opportunities
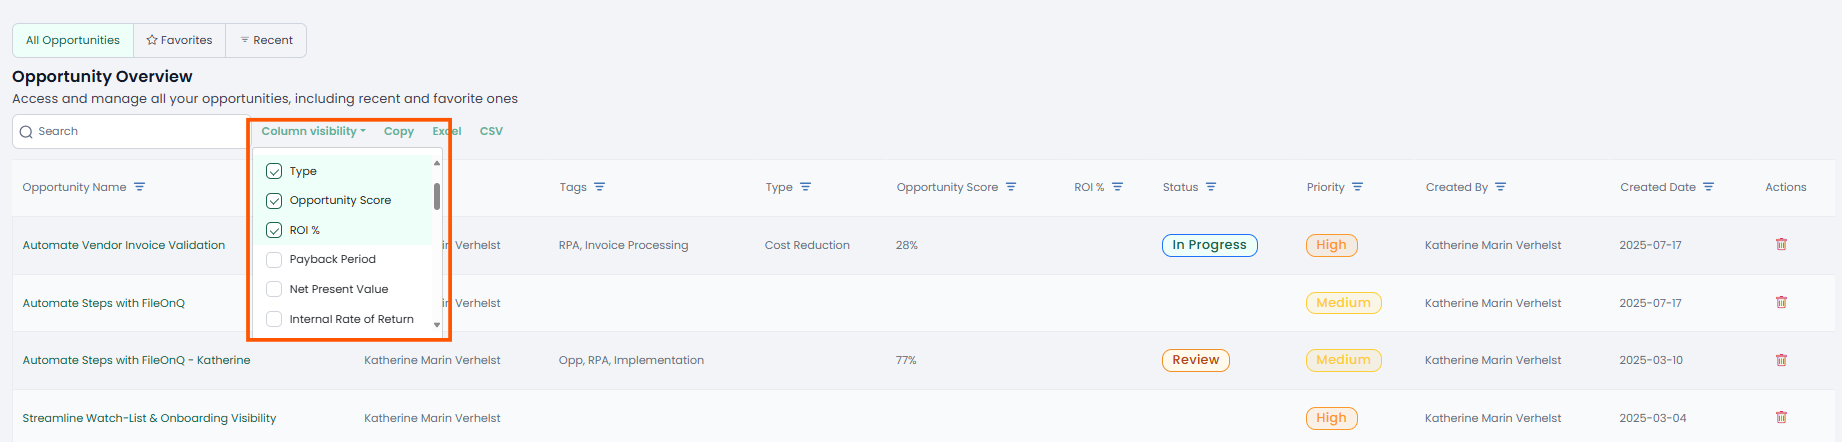
4.1 Column Visibility Customization
Procedure
Click on Column Visibility in the opportunity table.
Show/hide columns like Tags, Systems, Linked Process, or Score.
Result: You tailor your Opportunity Overview Table to match team priorities.
Select Columns that you want to see from the dropdown
New Column Added
4.2 Sorting by Score
Procedure
Click the Score column header.
Top-ranked opportunities (highest average of Strategic Impact, Feasibility, Benefits) float to the top.